
Sanding Engineered Oak Flooring in Bristol
If you are looking to have your wood flooring refinished, the first step is to book in a survey. Give us a ring or use the Contact form to send us an outline of what you are looking to achieve.
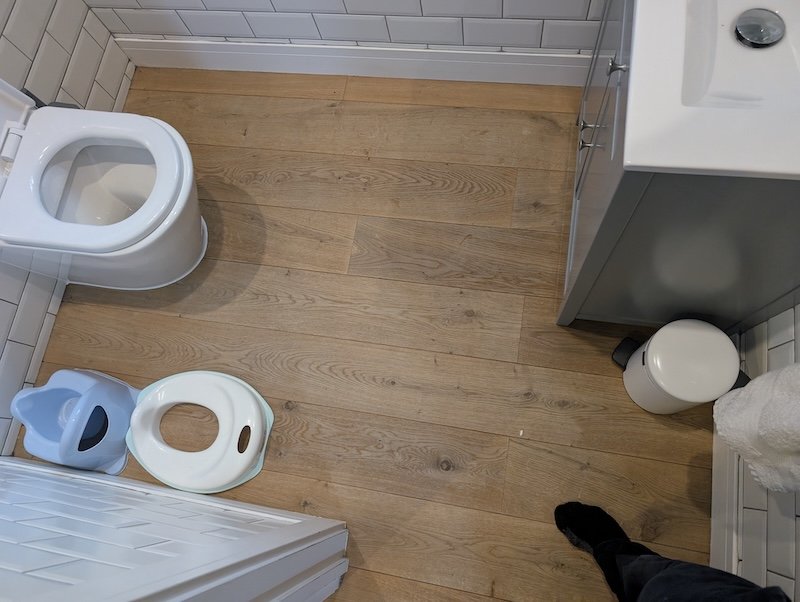
In this post, we’re reviewing a recent job in Westbury-on-Trym, Bristol, involving a full ground floor renovation of engineered wood. The original survey showed us a floor looking like this –
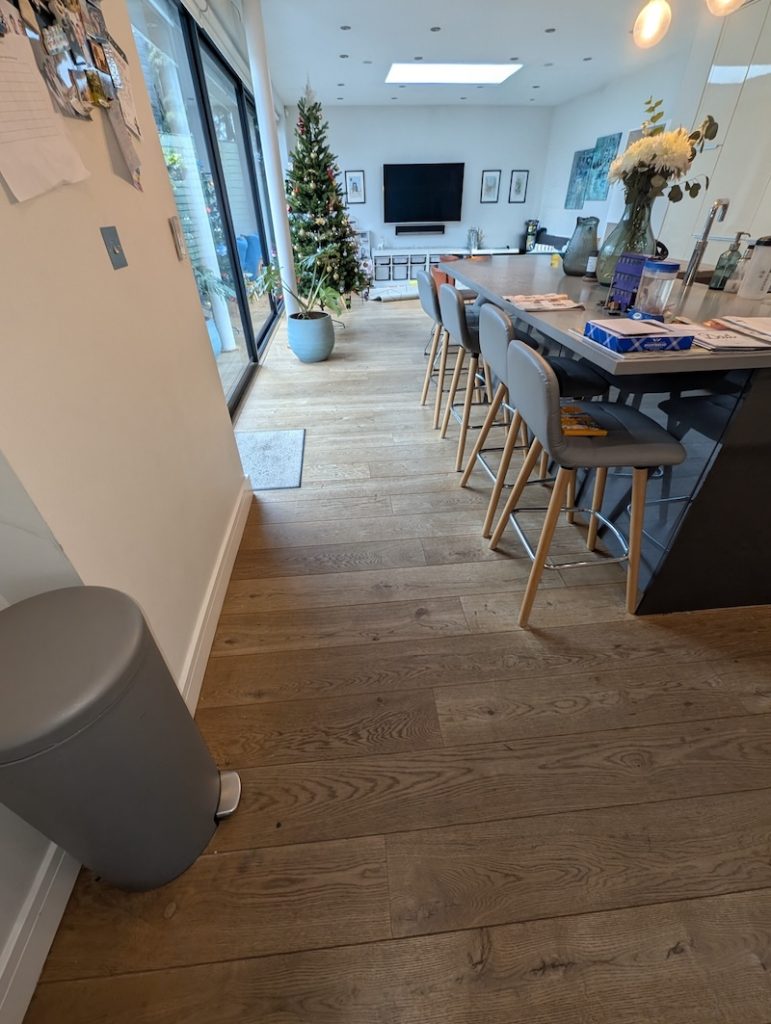
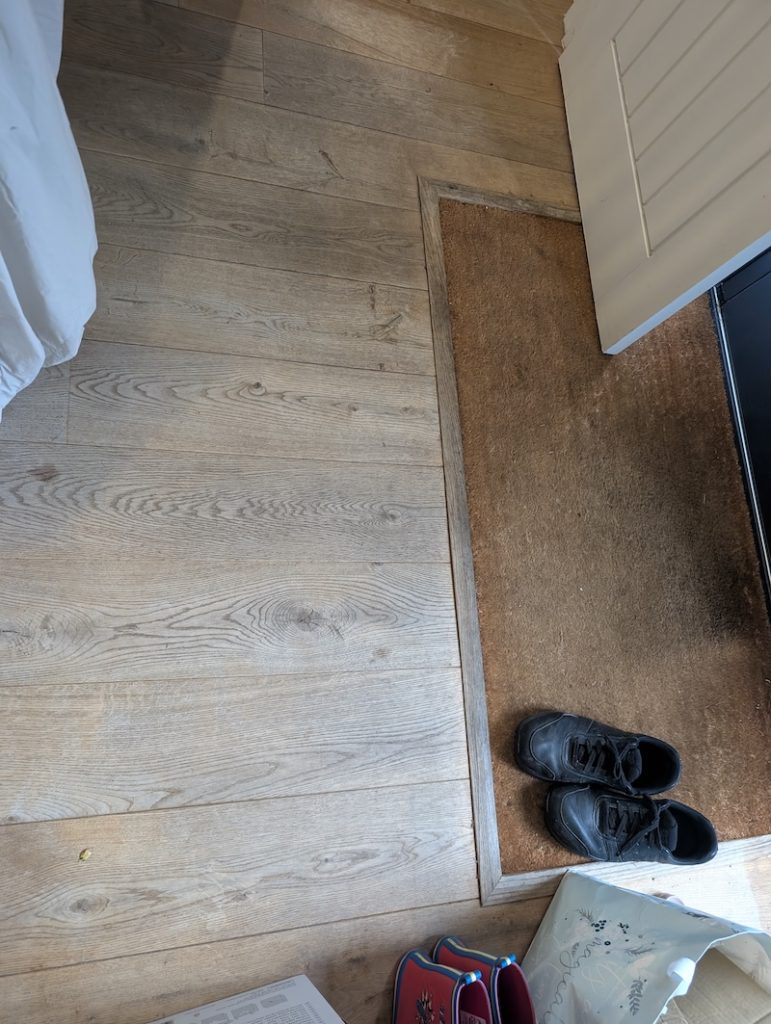
i.e. Not in terrible condition, but areas where the original finish is long gone and in need of rejuvenation & protection.
Can my engineered floor be sanded?
Key to deciding whether or not engineered wood is whether there is enough solid wood on the upper part of the floorboard to safely proceed.
A veneer (wear layer) of 3mm or thicker is suitable for sanding engineered wood, allowing for 1–2 refinishing sessions. While 2mm is the absolute minimum, 3-4mm provides a safe buffer to avoid exposing the plywood core. Thick wear layers (>4mm) can be safely sanded multiple times.
Wear Layer Thickness Guidelines
- < 2mm (Thin/Veneer): Too thin to sand.
- 2mm – 3mm (Medium): Risky. Can typically take one light sanding, but the risk of breaking through is high.
- 3mm – 4mm (Standard/Good): Safe for 1-2 professional sandings. This is the recommended minimum for, say, Reclaimed Flooring to be properly refinished.
- 4mm – 6mm (Premium): Similar to solid wood; can be sanded 2-4 times over its lifespan.
In this case, we managed to find an area of floor where the side profile was exposed & we could determine that there was around 4mm of solid wood, so good to go!
Dustless Wood Floor Sanding – The process
All wood floor sanding requires that rooms are fully emptied prior to our arrival.
Once this is done, all areas are thorough vacuumed & inspected for raised nails or material that could damage the sanding equipment. Then the machines are brought in and work commences!
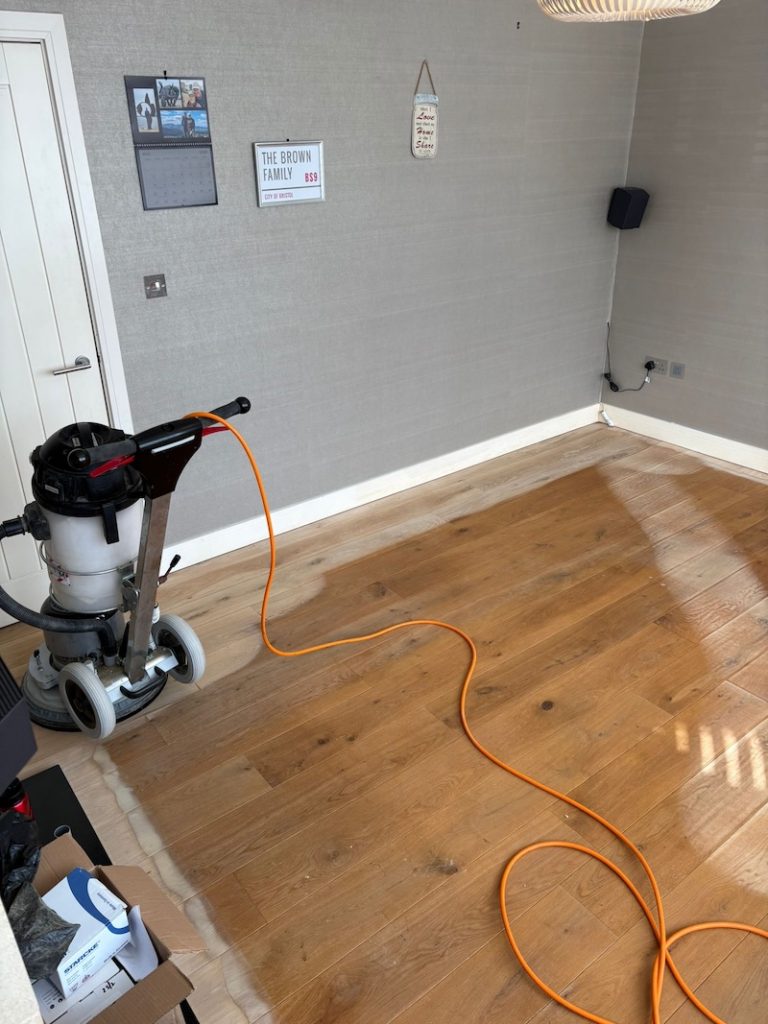
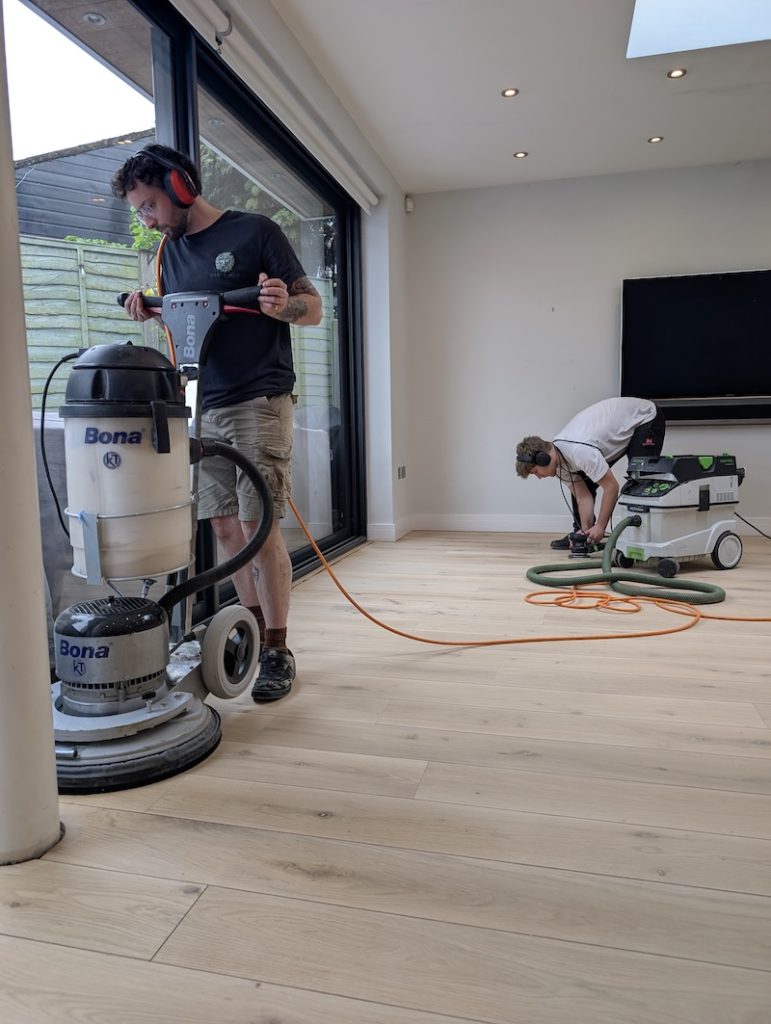
This image shows the “first cut” where the original floor is sanded back aggressively to reveal the fresh wood beneath. In this example, we are using a 40 grit sandpaper on our Bona Flexisand machine. The wood material is removed by four revolving pads at the base of the machine, which is weighted to ensure consistent pressure is applied to the floor.
The system has an integral vacuum & dust skirt to recover as much sawdust as possible throughout.
Although you can see that the work is proceeding in rows, this isn’t strictly necessary. The orbital pattern of the disc heads ensure that there is minimal trace of the machine direction visible within the floorboards.
While the main body of the floor is being sanded, attention is given to the trickier elements of the area, namely the edges and corners. For these, we use an edging sander & various orbital sanders.
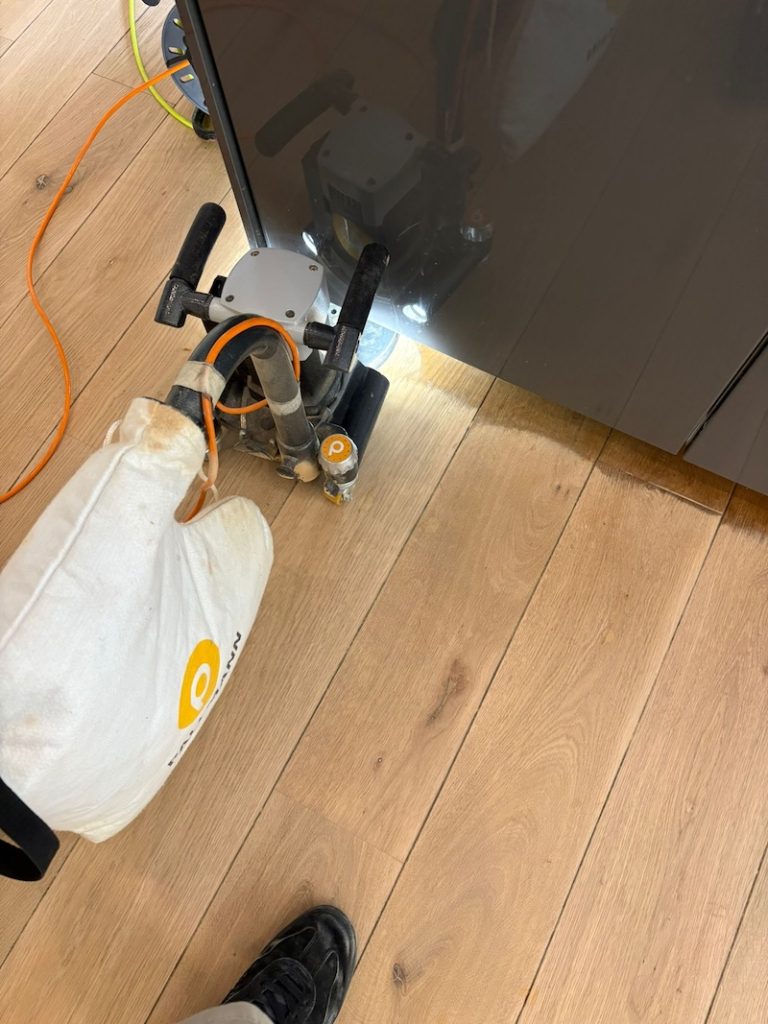
Edge sanders allow us to sand a wood floor right up to the skirting boards across the whole perimeter of a room. They are a powerful tool, excellent for efficient removal of the original coatings.
Orbital sanders operate using an eccentric motion, meaning that they do not leave a sanding pattern in the wood. They are much easier to control than the aggressive edge sander and so tend to be used at the edge of the rooms through higher grits of sandpaper.
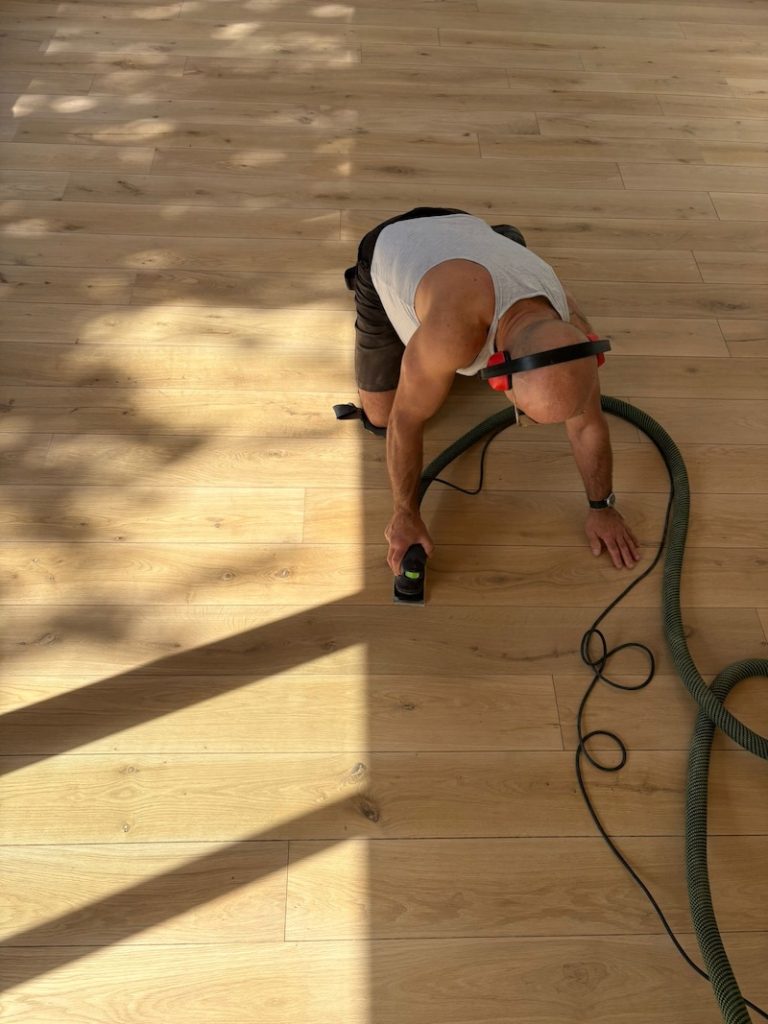
Once the sanding has begun, the sequence of events is to progress upwards through the different grit sizes. In this case: 40/60/80/120.
The length of time this takes is dictated by the size of a room & the amount of detailing (in this space, the kitchen island and trim alongside the french doors).
We tend to work slowly and methodically in order to achieve the best possible finish.
Choosing the right finish for wood
Once a wooden floor has been sanded to a fine finish, there are multiple options. Whether you opt for lacquer (aka varnish), oil or wax, and whether you choose to keep the natural appearance of the wood or add a tint or stain is entirely up to you.
Whichever option you go for, the application of finishes is the final stage of wood renovation and it is when you really get to see how your floor will finally appear…
In this instance, the homeowner opted for OSMO Polyx Oil Tints. This product delivers good levels of protection where there isn’t going to be particularly high foot traffic or abrasion to the floor. Oils/ waxes are also a good option if you would like to be able to patch repair areas of scuffing.
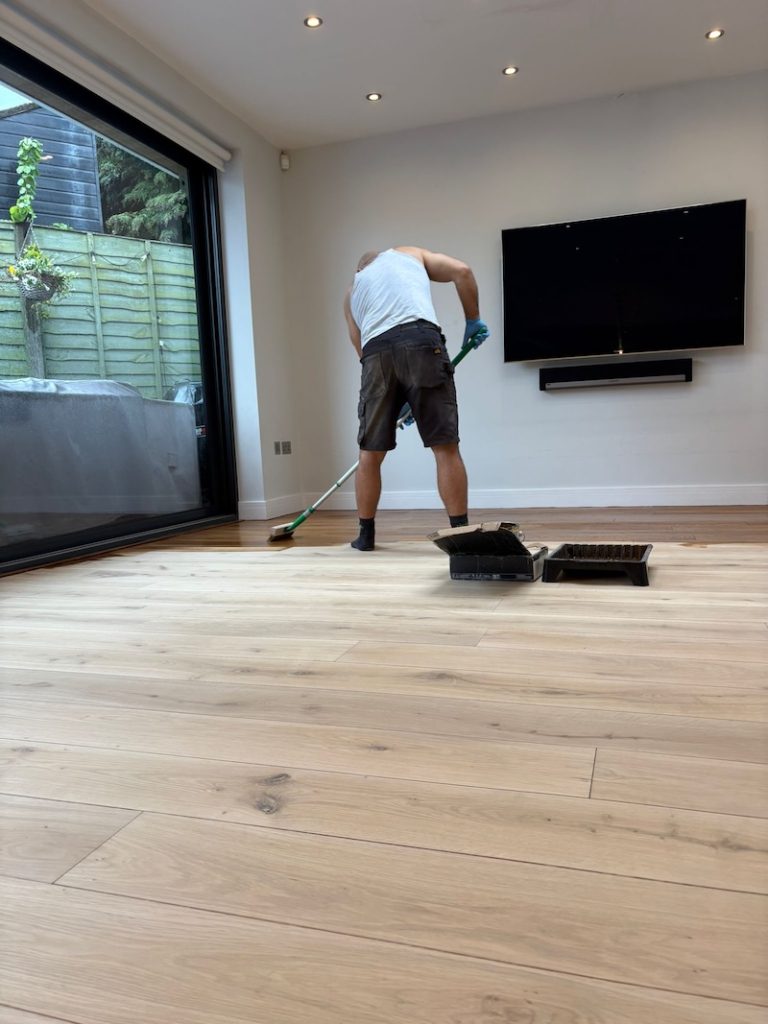
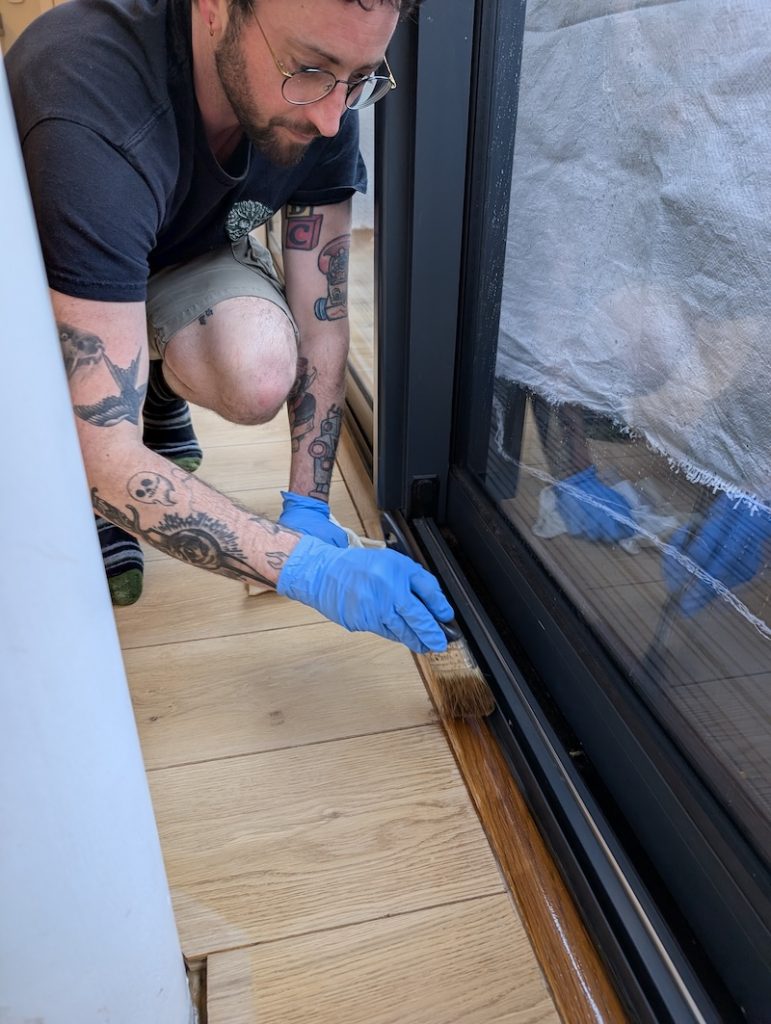
The oil is applied using a good quality edging paint brush, as well as OSMO’s own floor brush, which is worth acquiring as it really helps with delivering the right amount of oil to the floor.
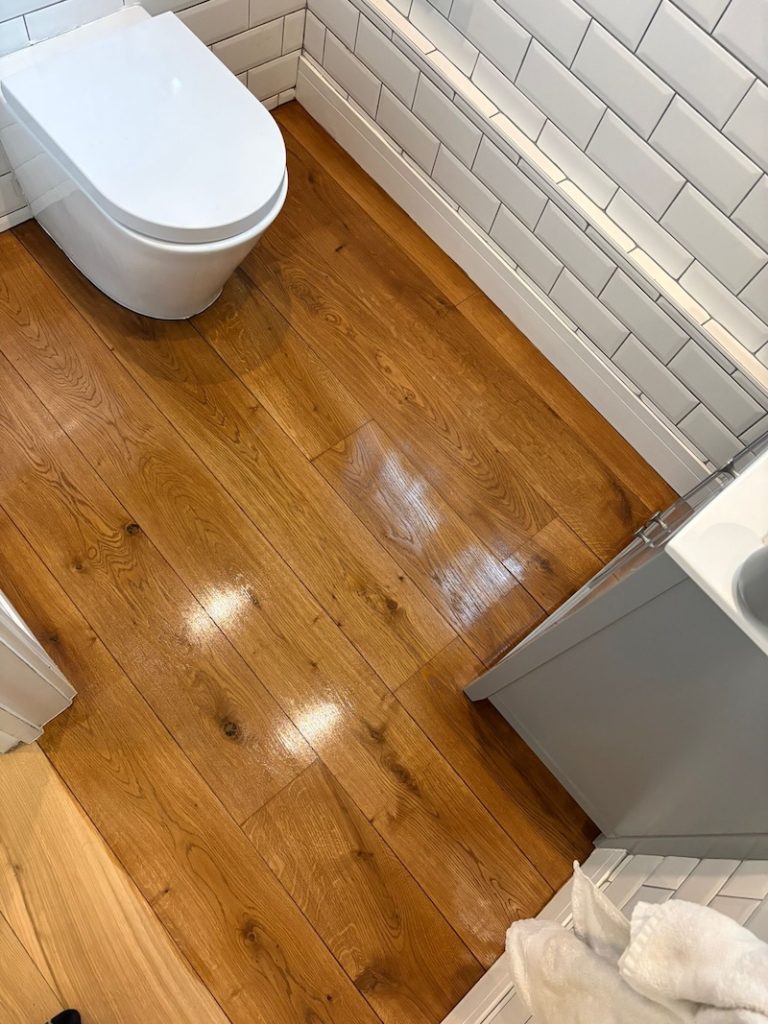
Once the first coat of wood oil has been applied, you generally have to wait at least 12 hours for the next coat can be put down. Before this can happen, you’ll often find that the grain of the floor has raised, which will require a light inter-coat sanding at a high grit (at least 150).
Once the second coat has been applied, it’s time to pack up tools and leave the floor for as long as possible before replacing furniture. OSMO specify:
”Approx. 24 hours (normal climatic conditions, 23°C/50 % rel. humidity). Lower temperatures and/or higher air humidity can increase the drying time. Allow for good ventilation while drying. After 2-3 weeks, surface is completely hardened.”
Because the product takes so long to fully cure, furniture replacement should be done with maximum care, avoid dragging etc. to preserve the quality of the finish before it is completed its hardening process.
If you have any questions regarding our wood floor sanding service, please feel free to get in touch.
Thanks for reading!